Using the Ubuntu Cloud Image in VMware
When working in the Public Cloud, one of the nice things is that you have all the VM templates available and you can quickly deploy them and start building what ever you want on top of those. However, some of these features are also available to your own datacenter and in this post I will touch on using the Ubuntu Cloud Image as a template in VMware.

In this earlier post I have shown the steps on how to create a Ubuntu VM using the standard ISO image. So if you prefer to do it that way, head over to that post and continue from there.
Ubuntu Cloud Image
The Ubuntu Cloud Image is a prepackaged virtual machine template provided as an Open Virtualization Appliance (or .ova in short). I tend to use the LTS images of Ubuntu for stability and support and the latest LTS release is 20.04, for which the cloud images can be accessed here:
https://cloud-images.ubuntu.com/releases/focal/release/
If you don’t want to search, here is the direct link to the .ova file: ubuntu-20.04-server-cloudimg-amd64.ova
The file is relatively small (about 514 MB), so is quick to download and deploy.
Deploy the OVA
Now that we have our OVA, we can deploy that to our VMware cluster. This is just a Next, Next, Finish click-through exercise, where you can accept the defaults, but I’ve included the screenshots for this just the same.
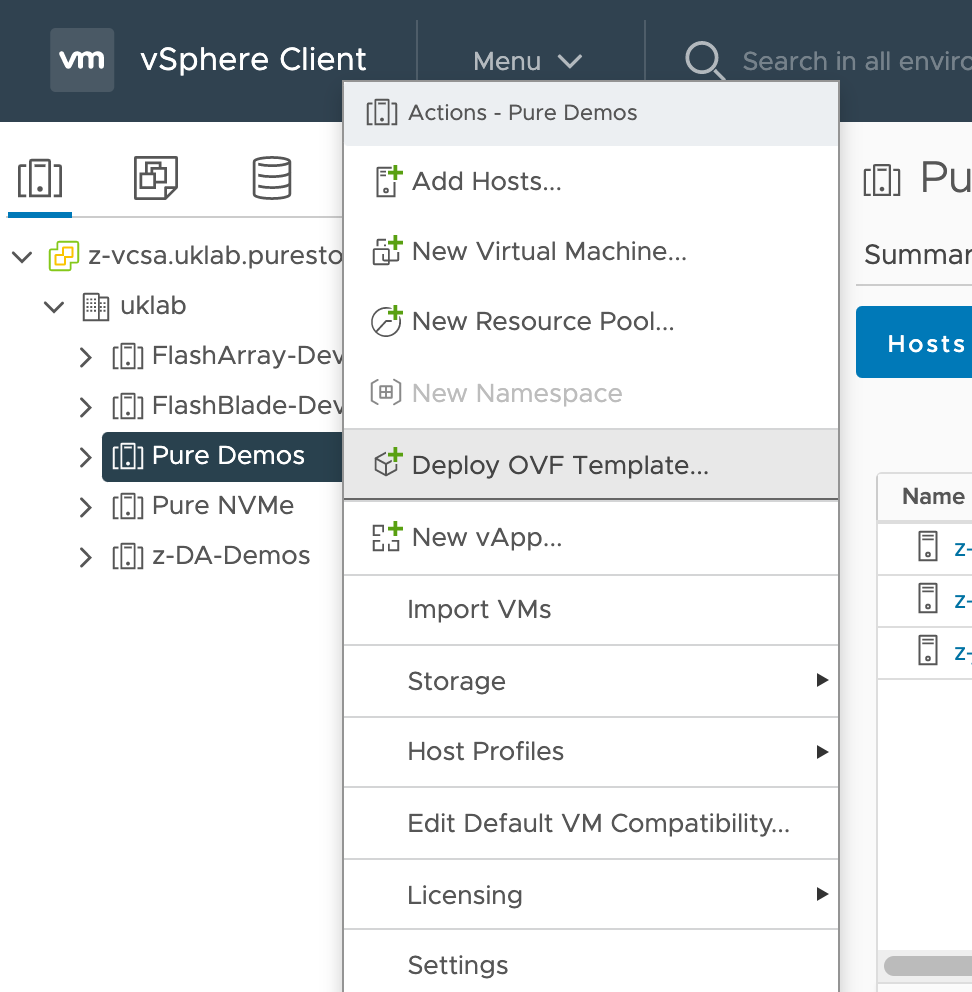
- Right click the cluster and resource pool you want to deploy the template to and select Deploy OVF Template…
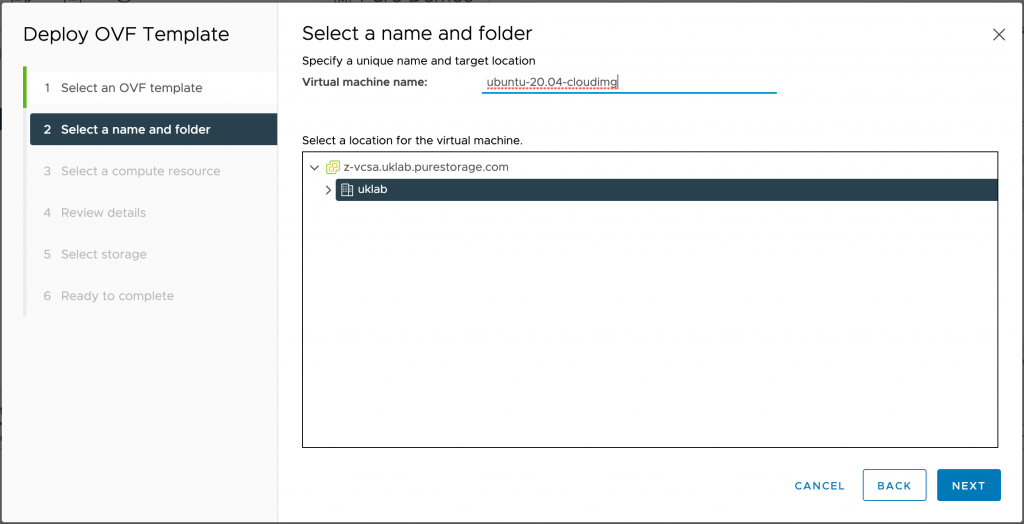
2. Enter a name for the template (or accept the default name provided)
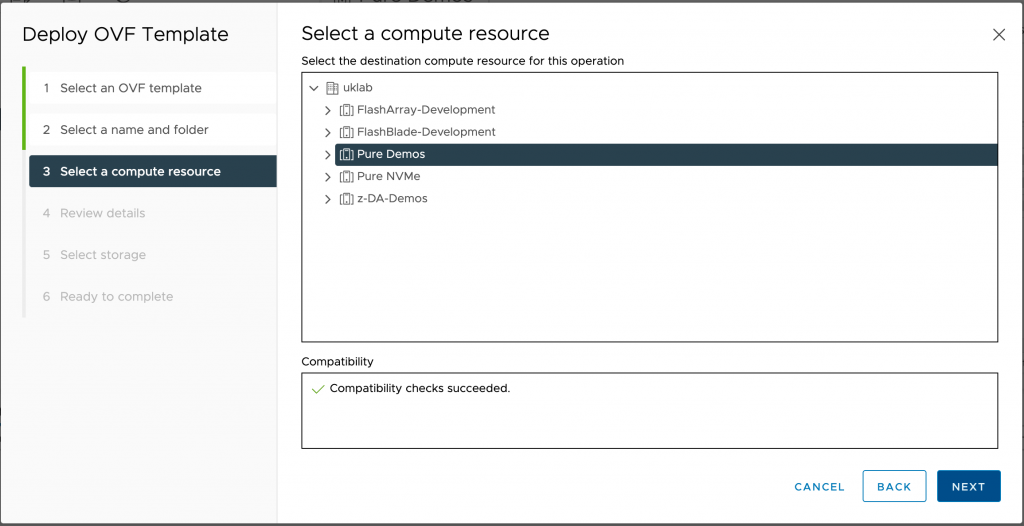
3. Once again select the cluster / resource pool to deploy the template to.
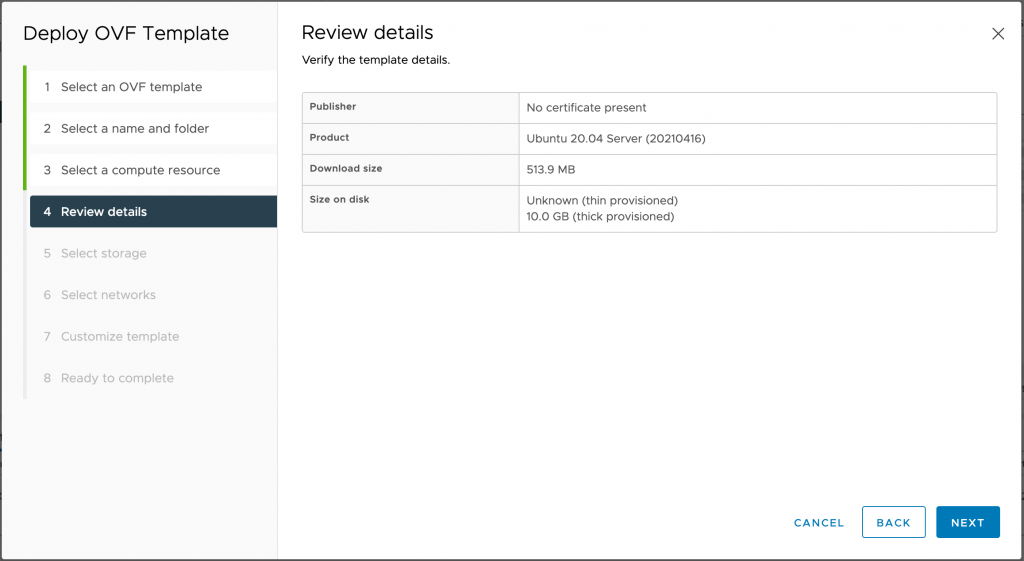
4. Some info about the template you are about to deploy.
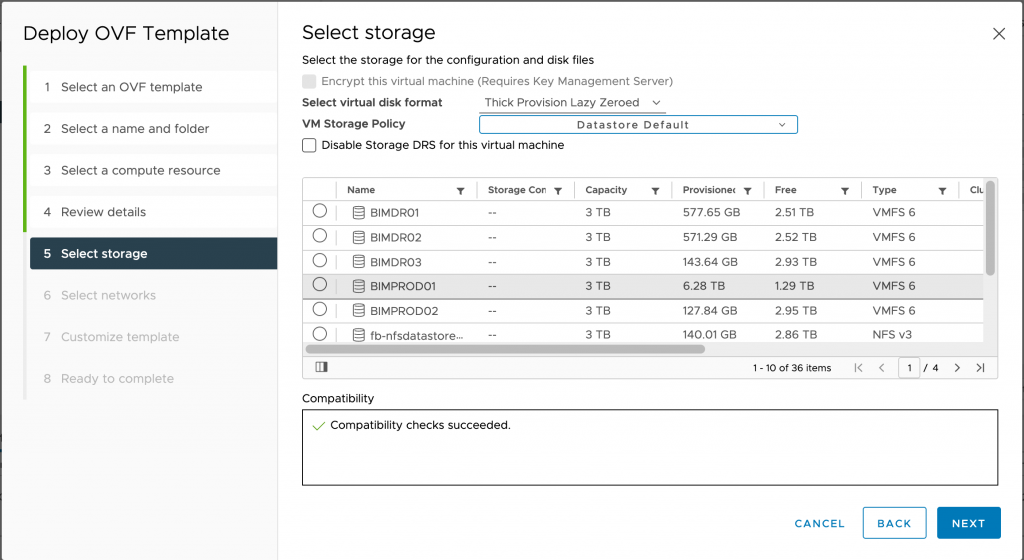
5. Select a datastore you want to deploy the template to. I have accepted the defaults, since the FlashArray that I use will remove any zero’s and thin provision anyways, however you might want to change to Thin Provisioned depending on the storage you use to run your VMware cluster on.

6. Select the network.
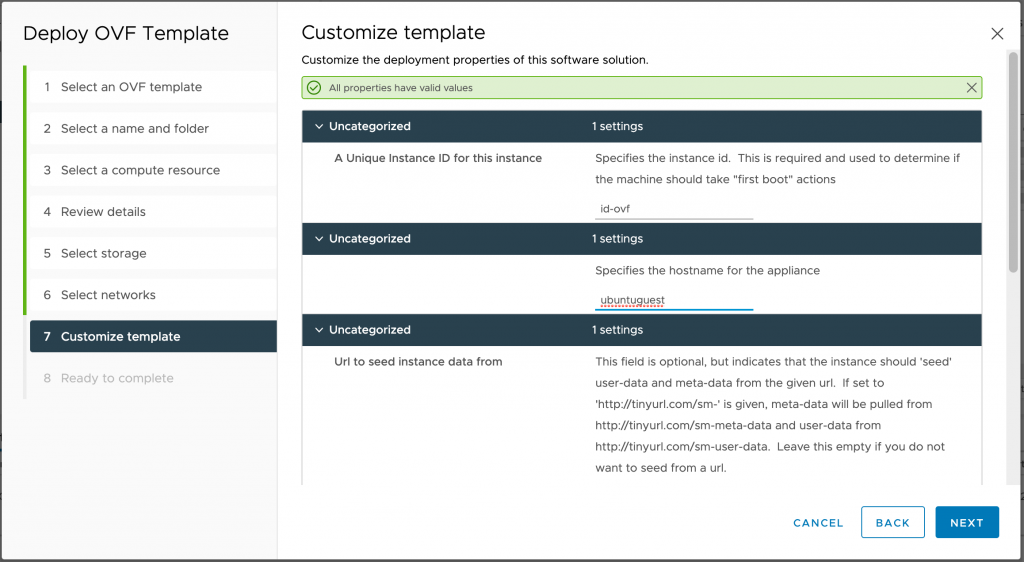
7. The Customer template settings do not need to be changed now, however we will be using those when deploying new VM’s from this template. Although some people might prefer to add for example the RSA public key and/or default password in the template (which I wouldn’t generally consider best practice expect maybe in a lab).
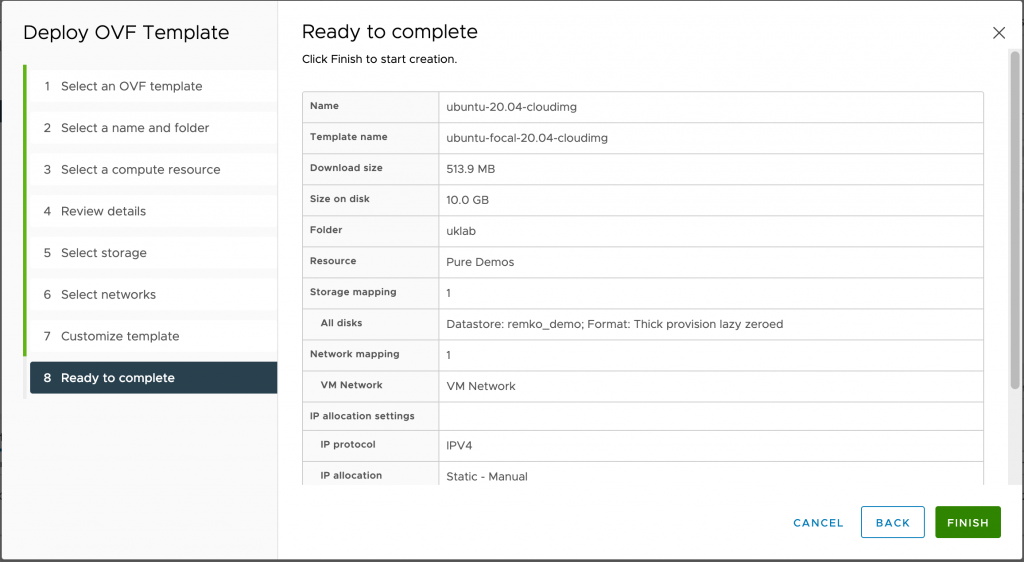
8. Review the settings and hit Finish.
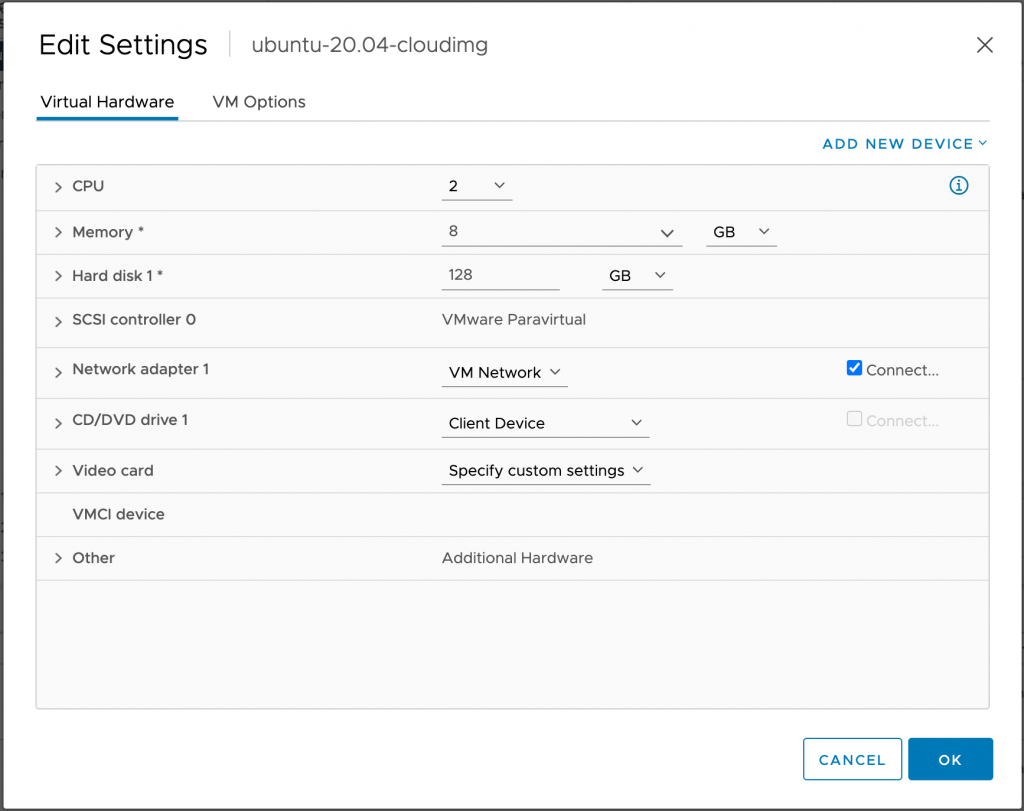
9. Now you can make some changes to the hardware specs. I generally give my templates a bit more memory and a large drive for the OS. The nice thing about the Ubuntu Cloud Image is that if you resize the disk in VMware, reboot the VM the disk within the VM is automatically expanded to consume the additional space. Way easier then messing around with tools like fdisk and resize2fs I think.
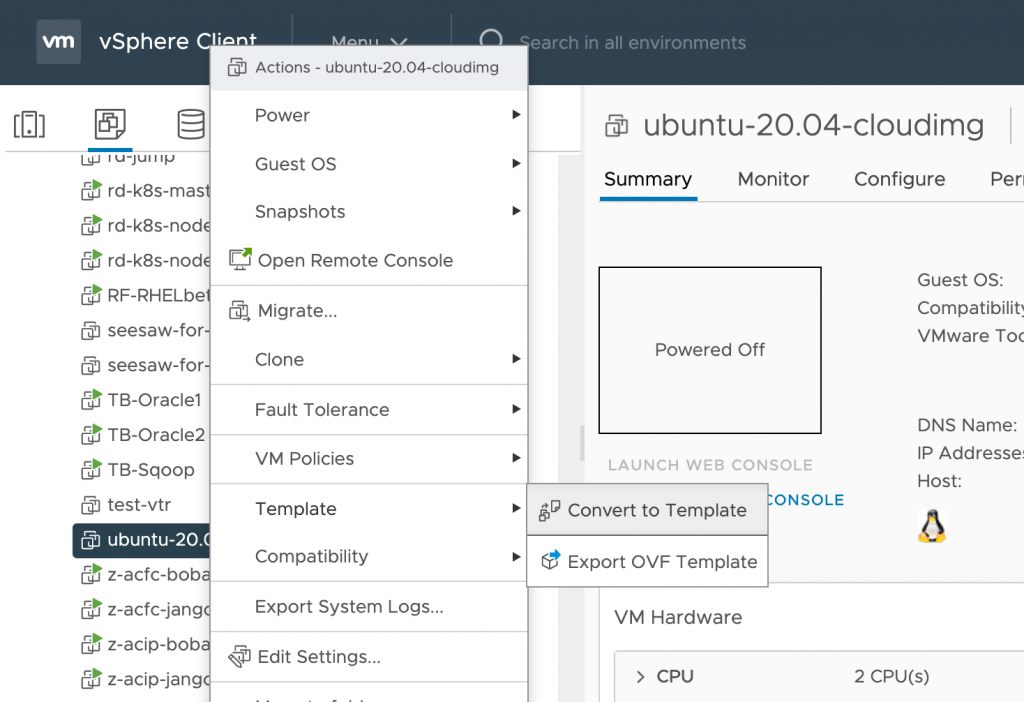
10. Finally once you’ve made the adjustments you wanted, you can now convert the virtual machine to a Template, by right clicking the VM and choosing Template -> Convert to Template.
Deploy the Ubuntu Cloud Image
Now that we have created our template, we can proceed to deploy our Ubuntu VM’s from those. Nothing really fancy, except that we’ll be using the Customization settings to provide the new VM with a hostname, SSH public key and/or password.
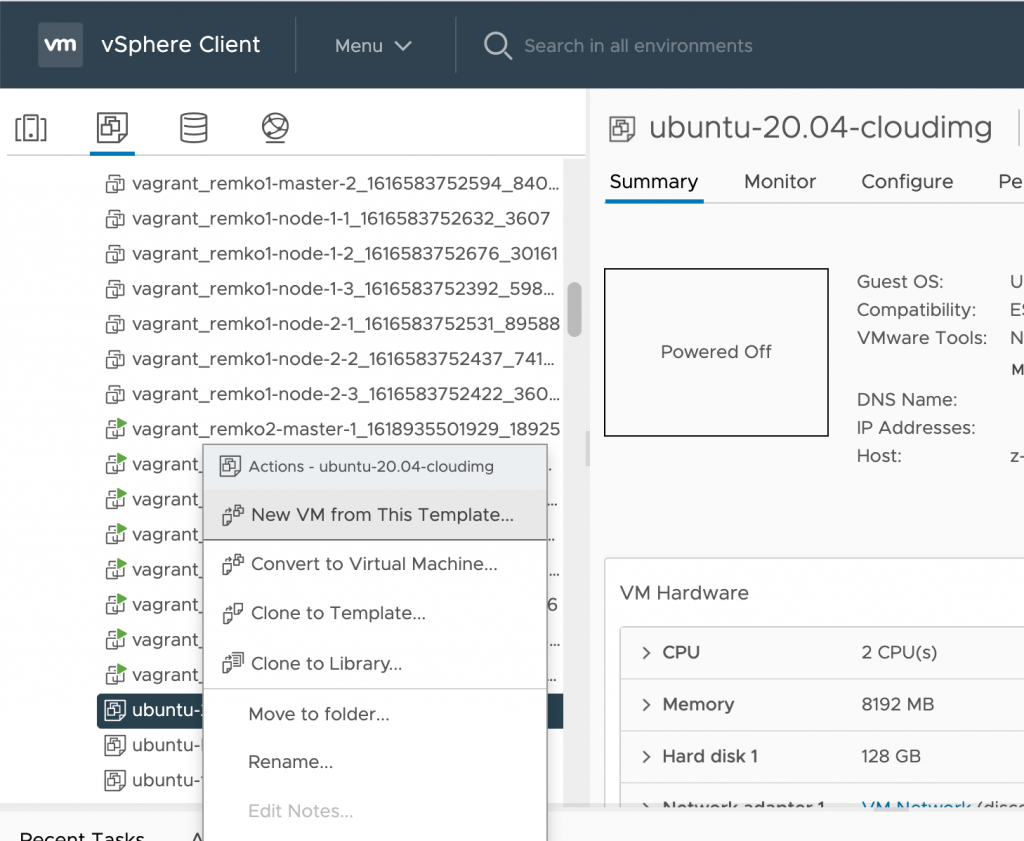
- To deploy a VM from our Template, right click on our Template and select New VM from This Template…
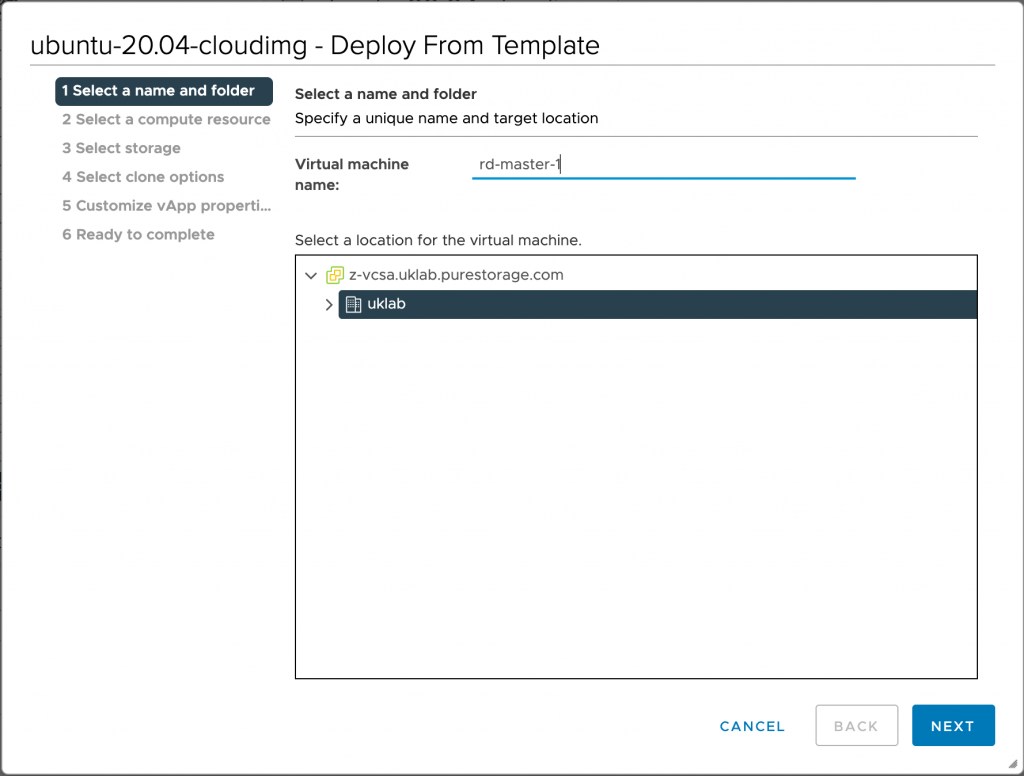
2. Give the VM a name (I generally advice to use the hostname for this)
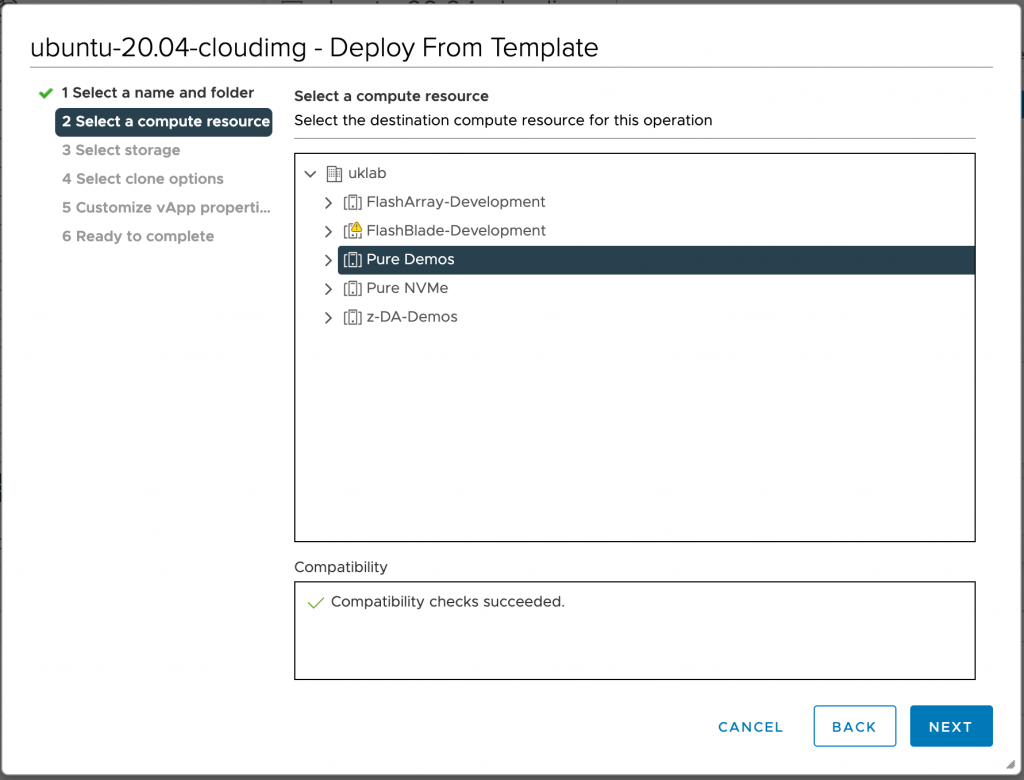
3. Select a cluster / resource pool to deploy the VM to
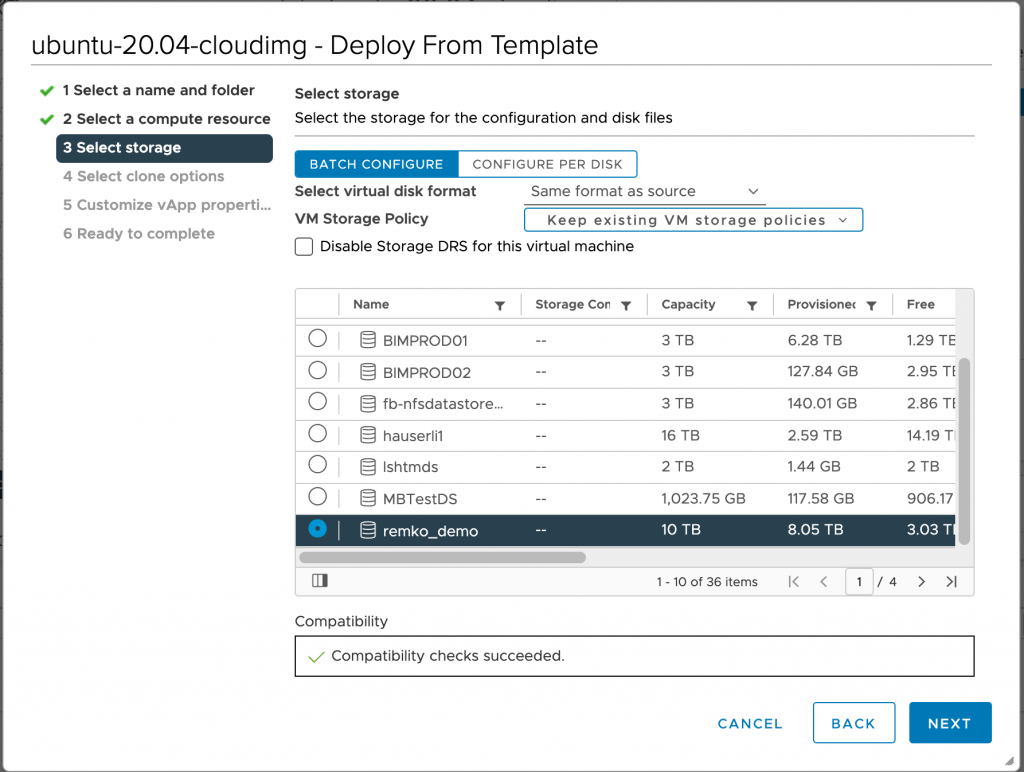
4. Select the datastore to use, and again here you could change the disk format from Thick to Thin or from Thin to Thick, depending on how you created your template and the underlying storage you use. As I’m using a FlashArray is actually doesn’t matter, so I’ll leave it at Thick.
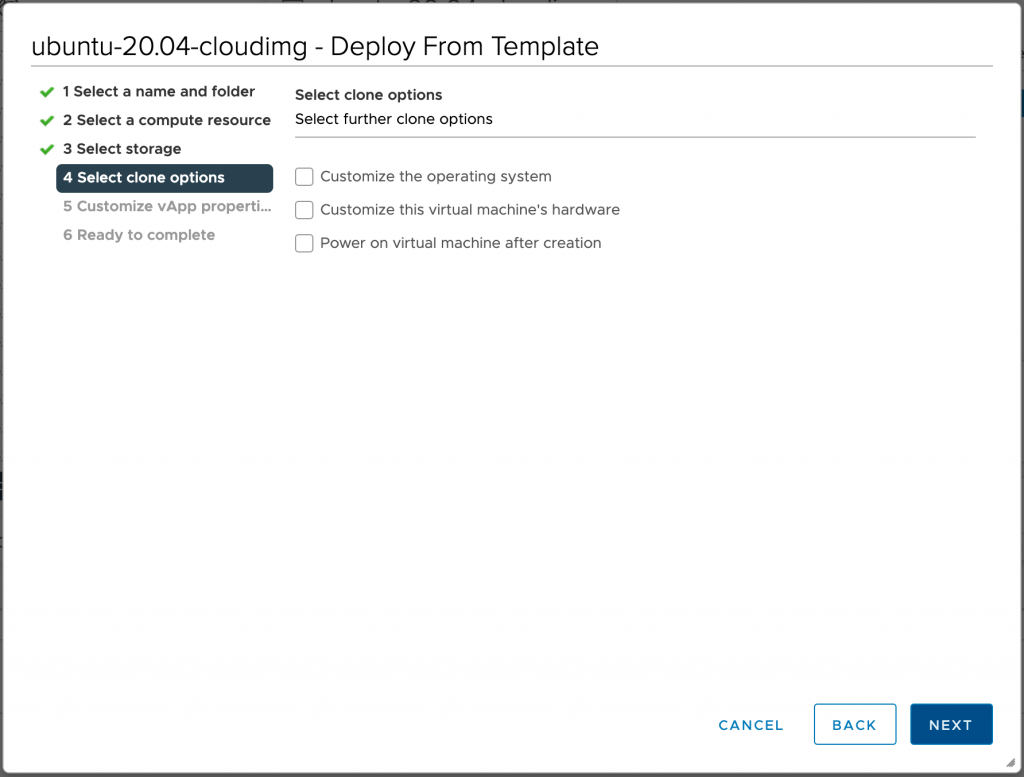
5. We’re not doing any customisations here, unless you want to change the hardware (eg., memory, vCPU’s or hard disk size)
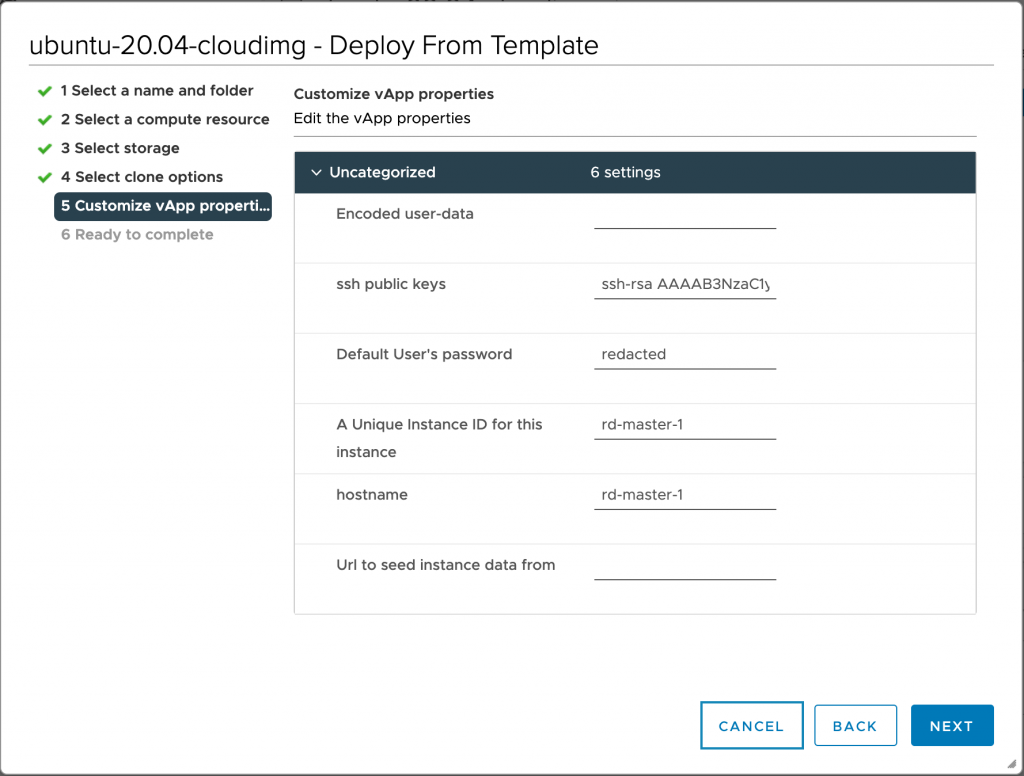
6. Here is were we enter the hostname. I use it both for the Unique Instance ID and the hostname field. I also add my SSH public key and honestly I don’t use passwords anymore so even though the screenshot says redacted, I actually leave it empty. However, if you prefer a password, this is they way to set the initial password for the VM.
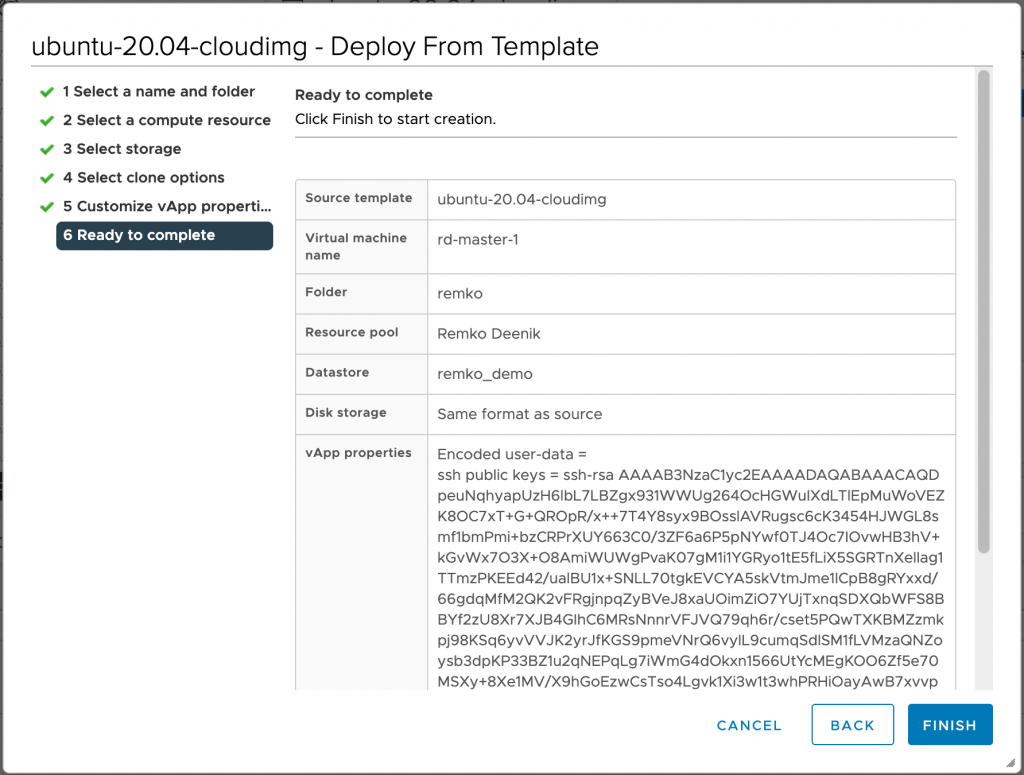
7. Review your settings and hit Finish to deploy you VM.
Accessing your new VM
Now that you have deployed the Cloud Image, you obviously want to go ahead and access it. But what’s the IP address for the VM? We did not specify that during the deployment. The Cloud Image assumes that you have DHCP setup. So if we switch on our VM, we will see the DHCP address address displayed by VMware, as the Cloud Image also includes VMware Tools.
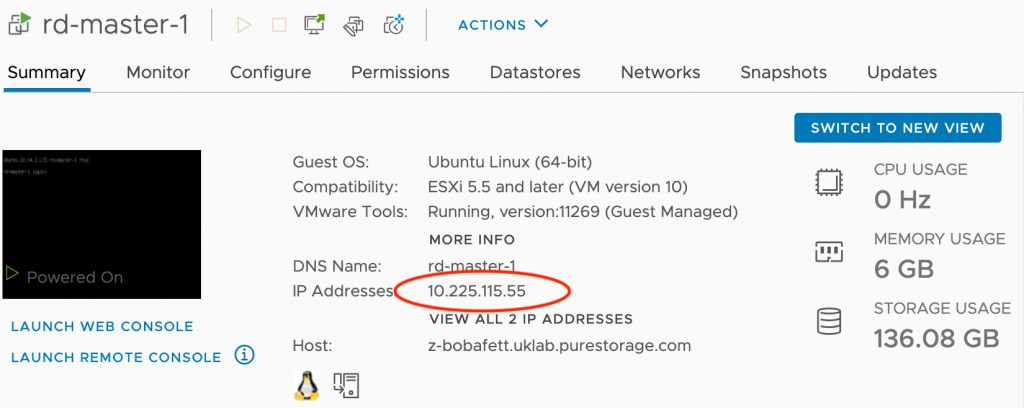
So we now have our IP address, a password and/or public key, so we are ready to go… Or not? What about the username? The default user that is created on the Ubuntu Cloud Image is called… wait for it… ubuntu.
So to SSH into our new Ubuntu VM, we can use:
ssh ubuntu@10.225.115.55
If we used a password, this will prompt us to enter the password. If we used a SSH public key, the login will be automatic.
All in all a pretty nice way to deploy Ubuntu quickly.
One thought on “Using the Ubuntu Cloud Image in VMware”
Thanks for the information in this article. It helped me understand the concepts of VMware and Ubuntu Cloud-Init.